
When I was pregnant we lived with my mother-in-law for six months. Our beautiful flat (that we no longer live in… sigh) was being renovated. We moved into it in September and Lexie was born a month later. Although it was a bit stressful being displaced, it was also a golden time. Living in her light, airy Georgian house that summer I felt extraordinarily free. I wasn’t working, I spent a lot of time napping, reading and sitting in the shade of the fragrant garden. It was an oblique time compounded by the displacement perhaps and I was very happy.

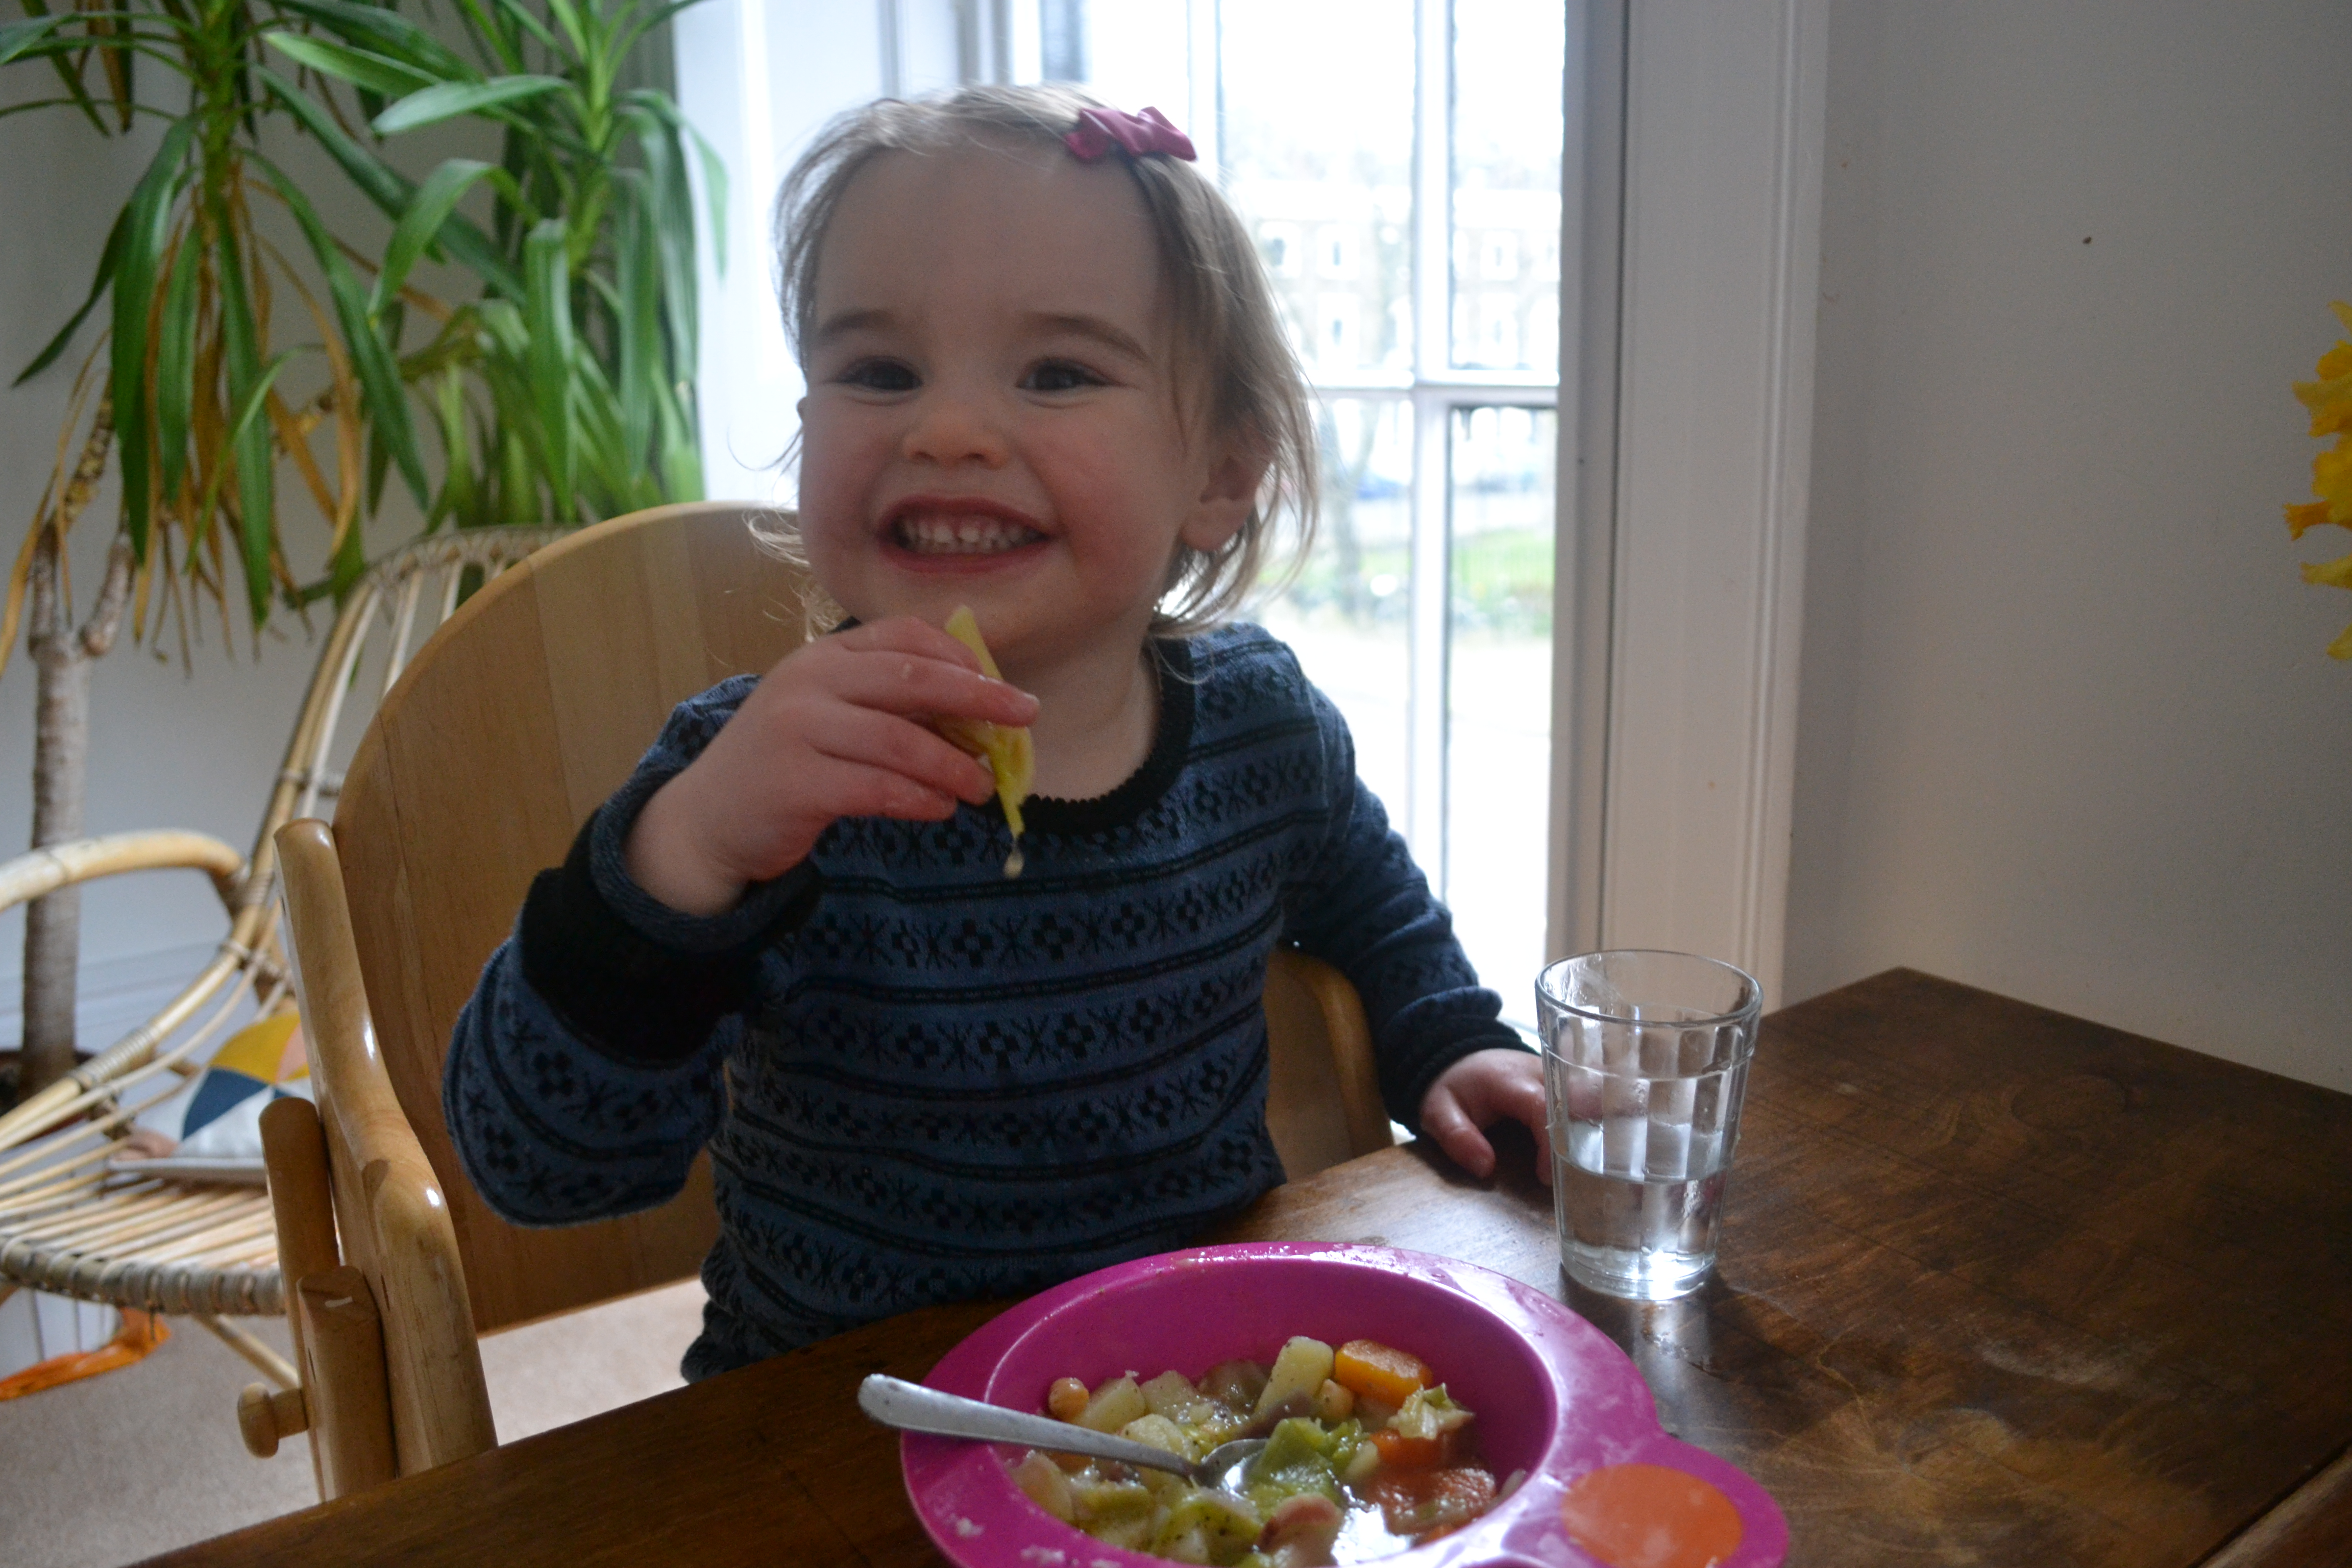
She also cooked us so many wonderful meals. This is one of her recipes that I love. Fragrant, filling and nutritious, I usually make this with baked or pan fried cod but it’s lovely by itself too. Ideally use dried chickpeas using the cooking water as the stock, but I rarely have the foresight and use tins. I haven’t managed to get Lex to eat the fennel yet but she loves the tomatoes, chickpeas, fish and broth.
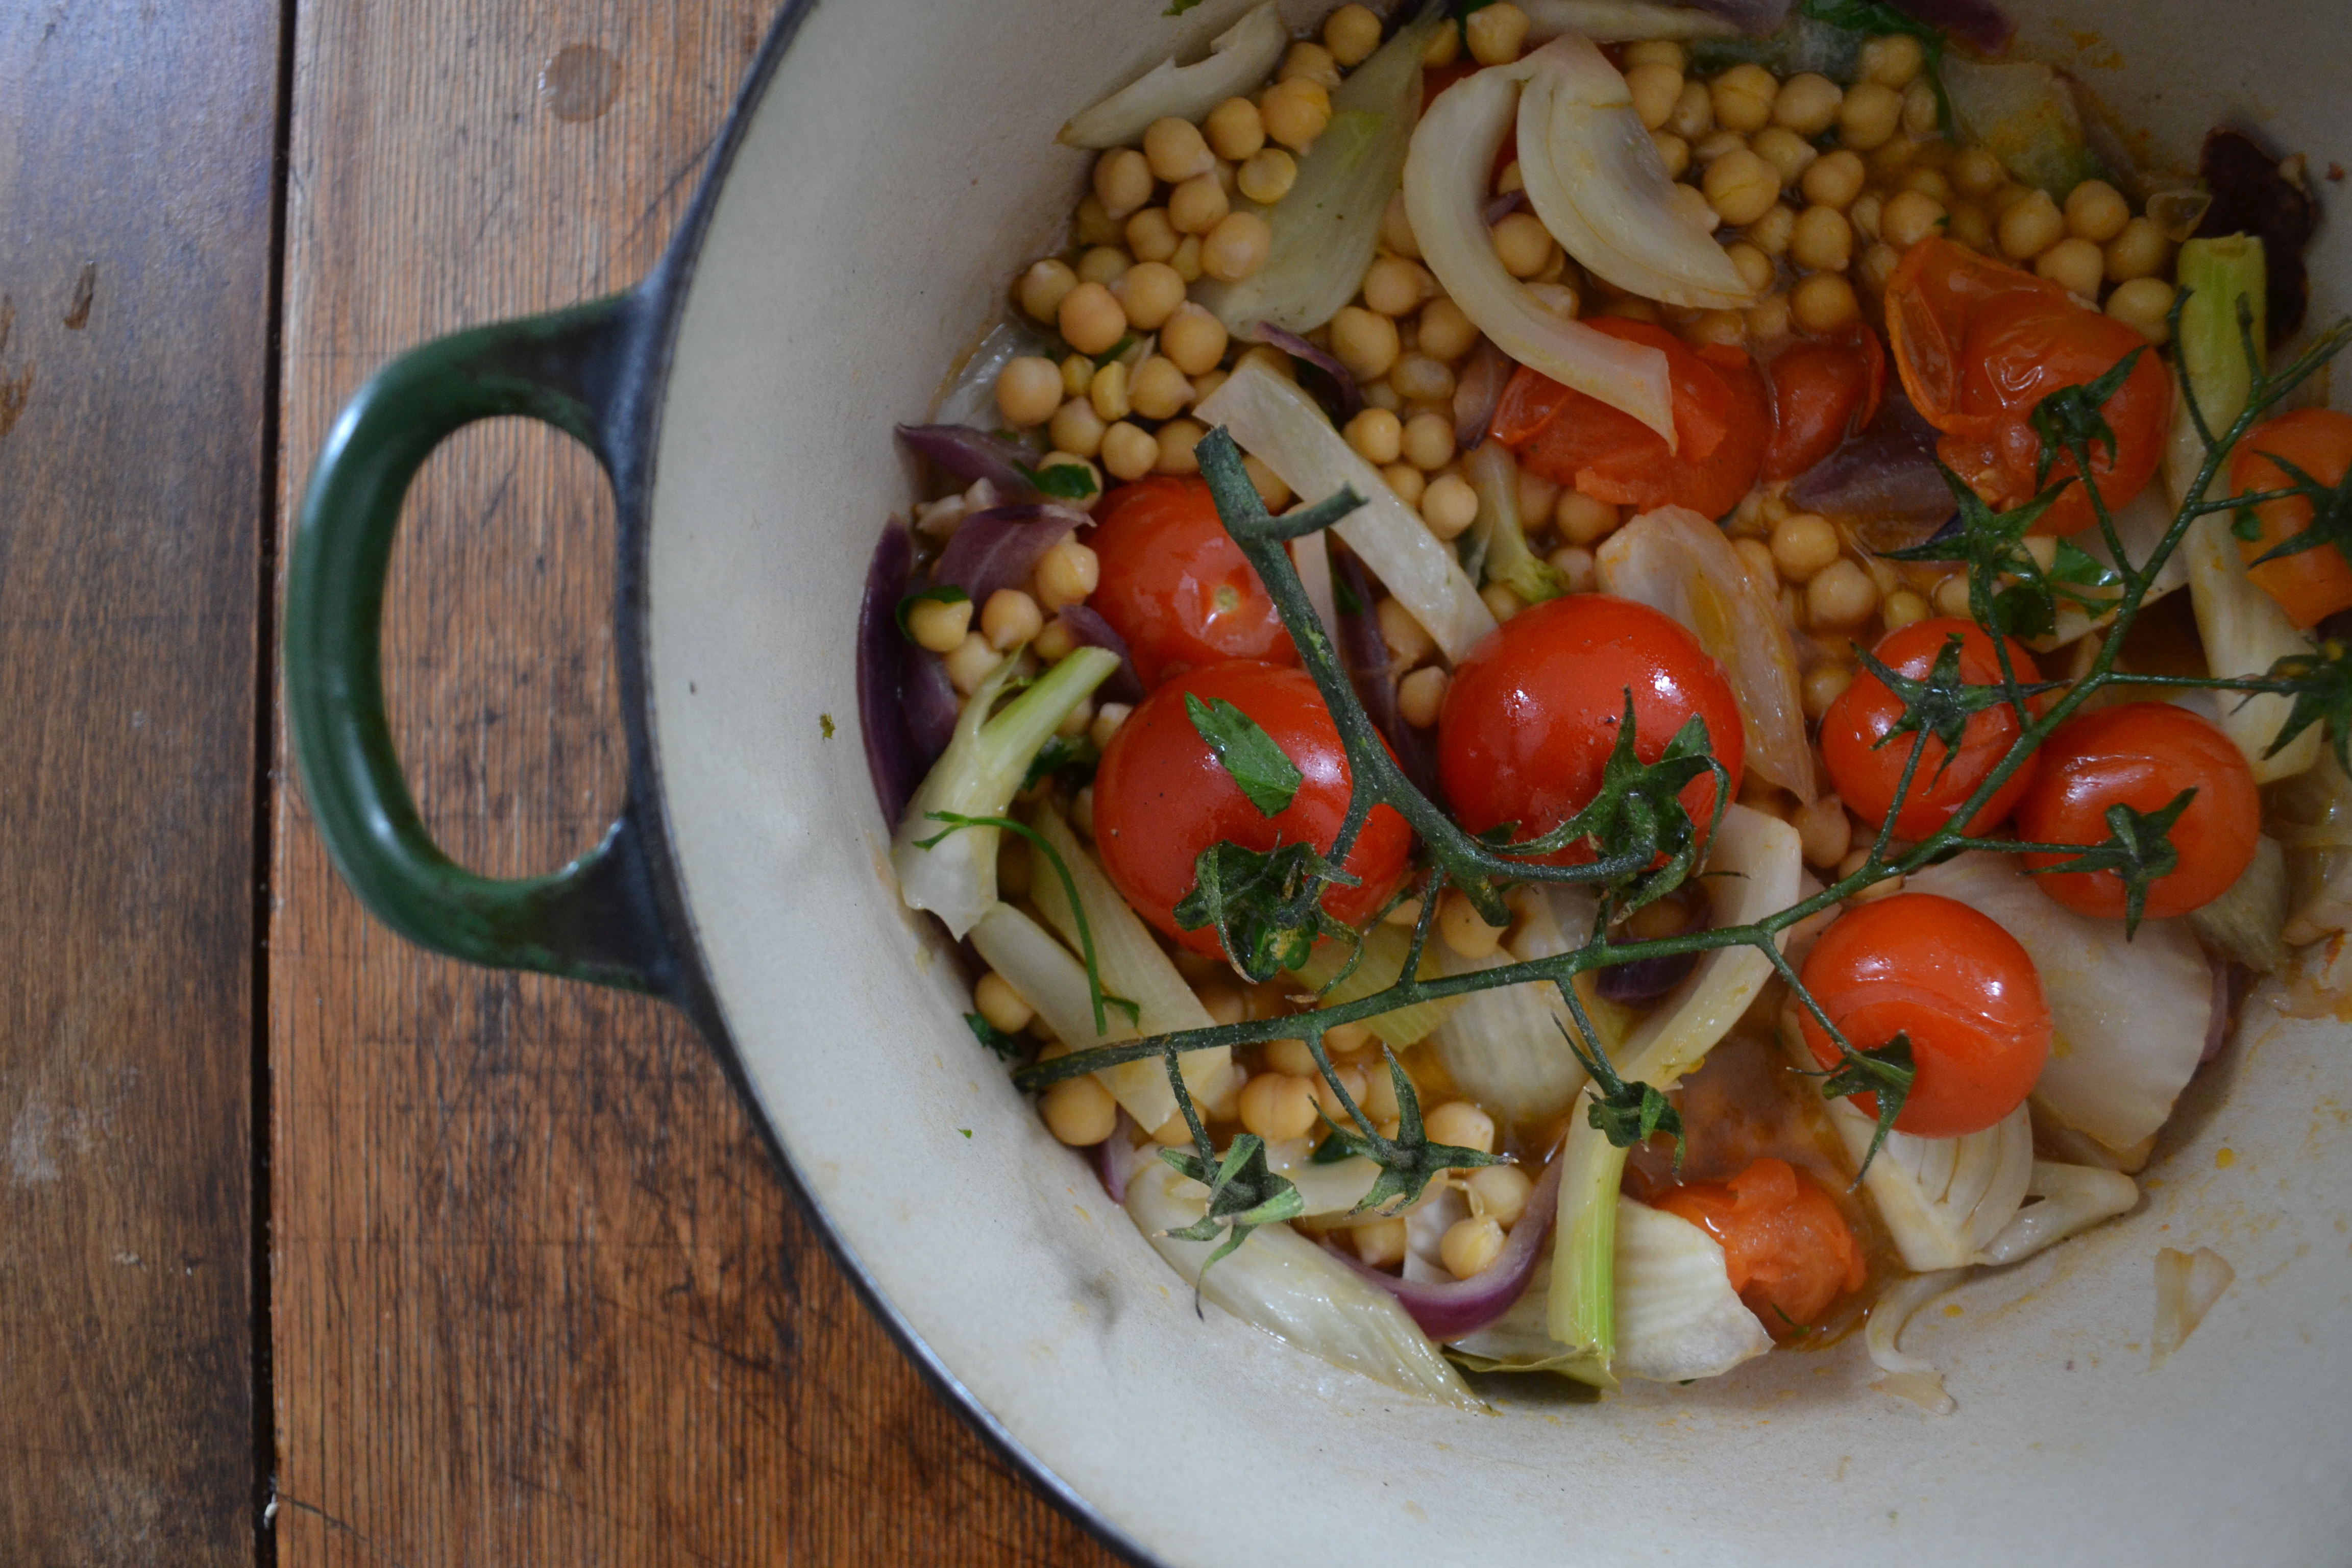

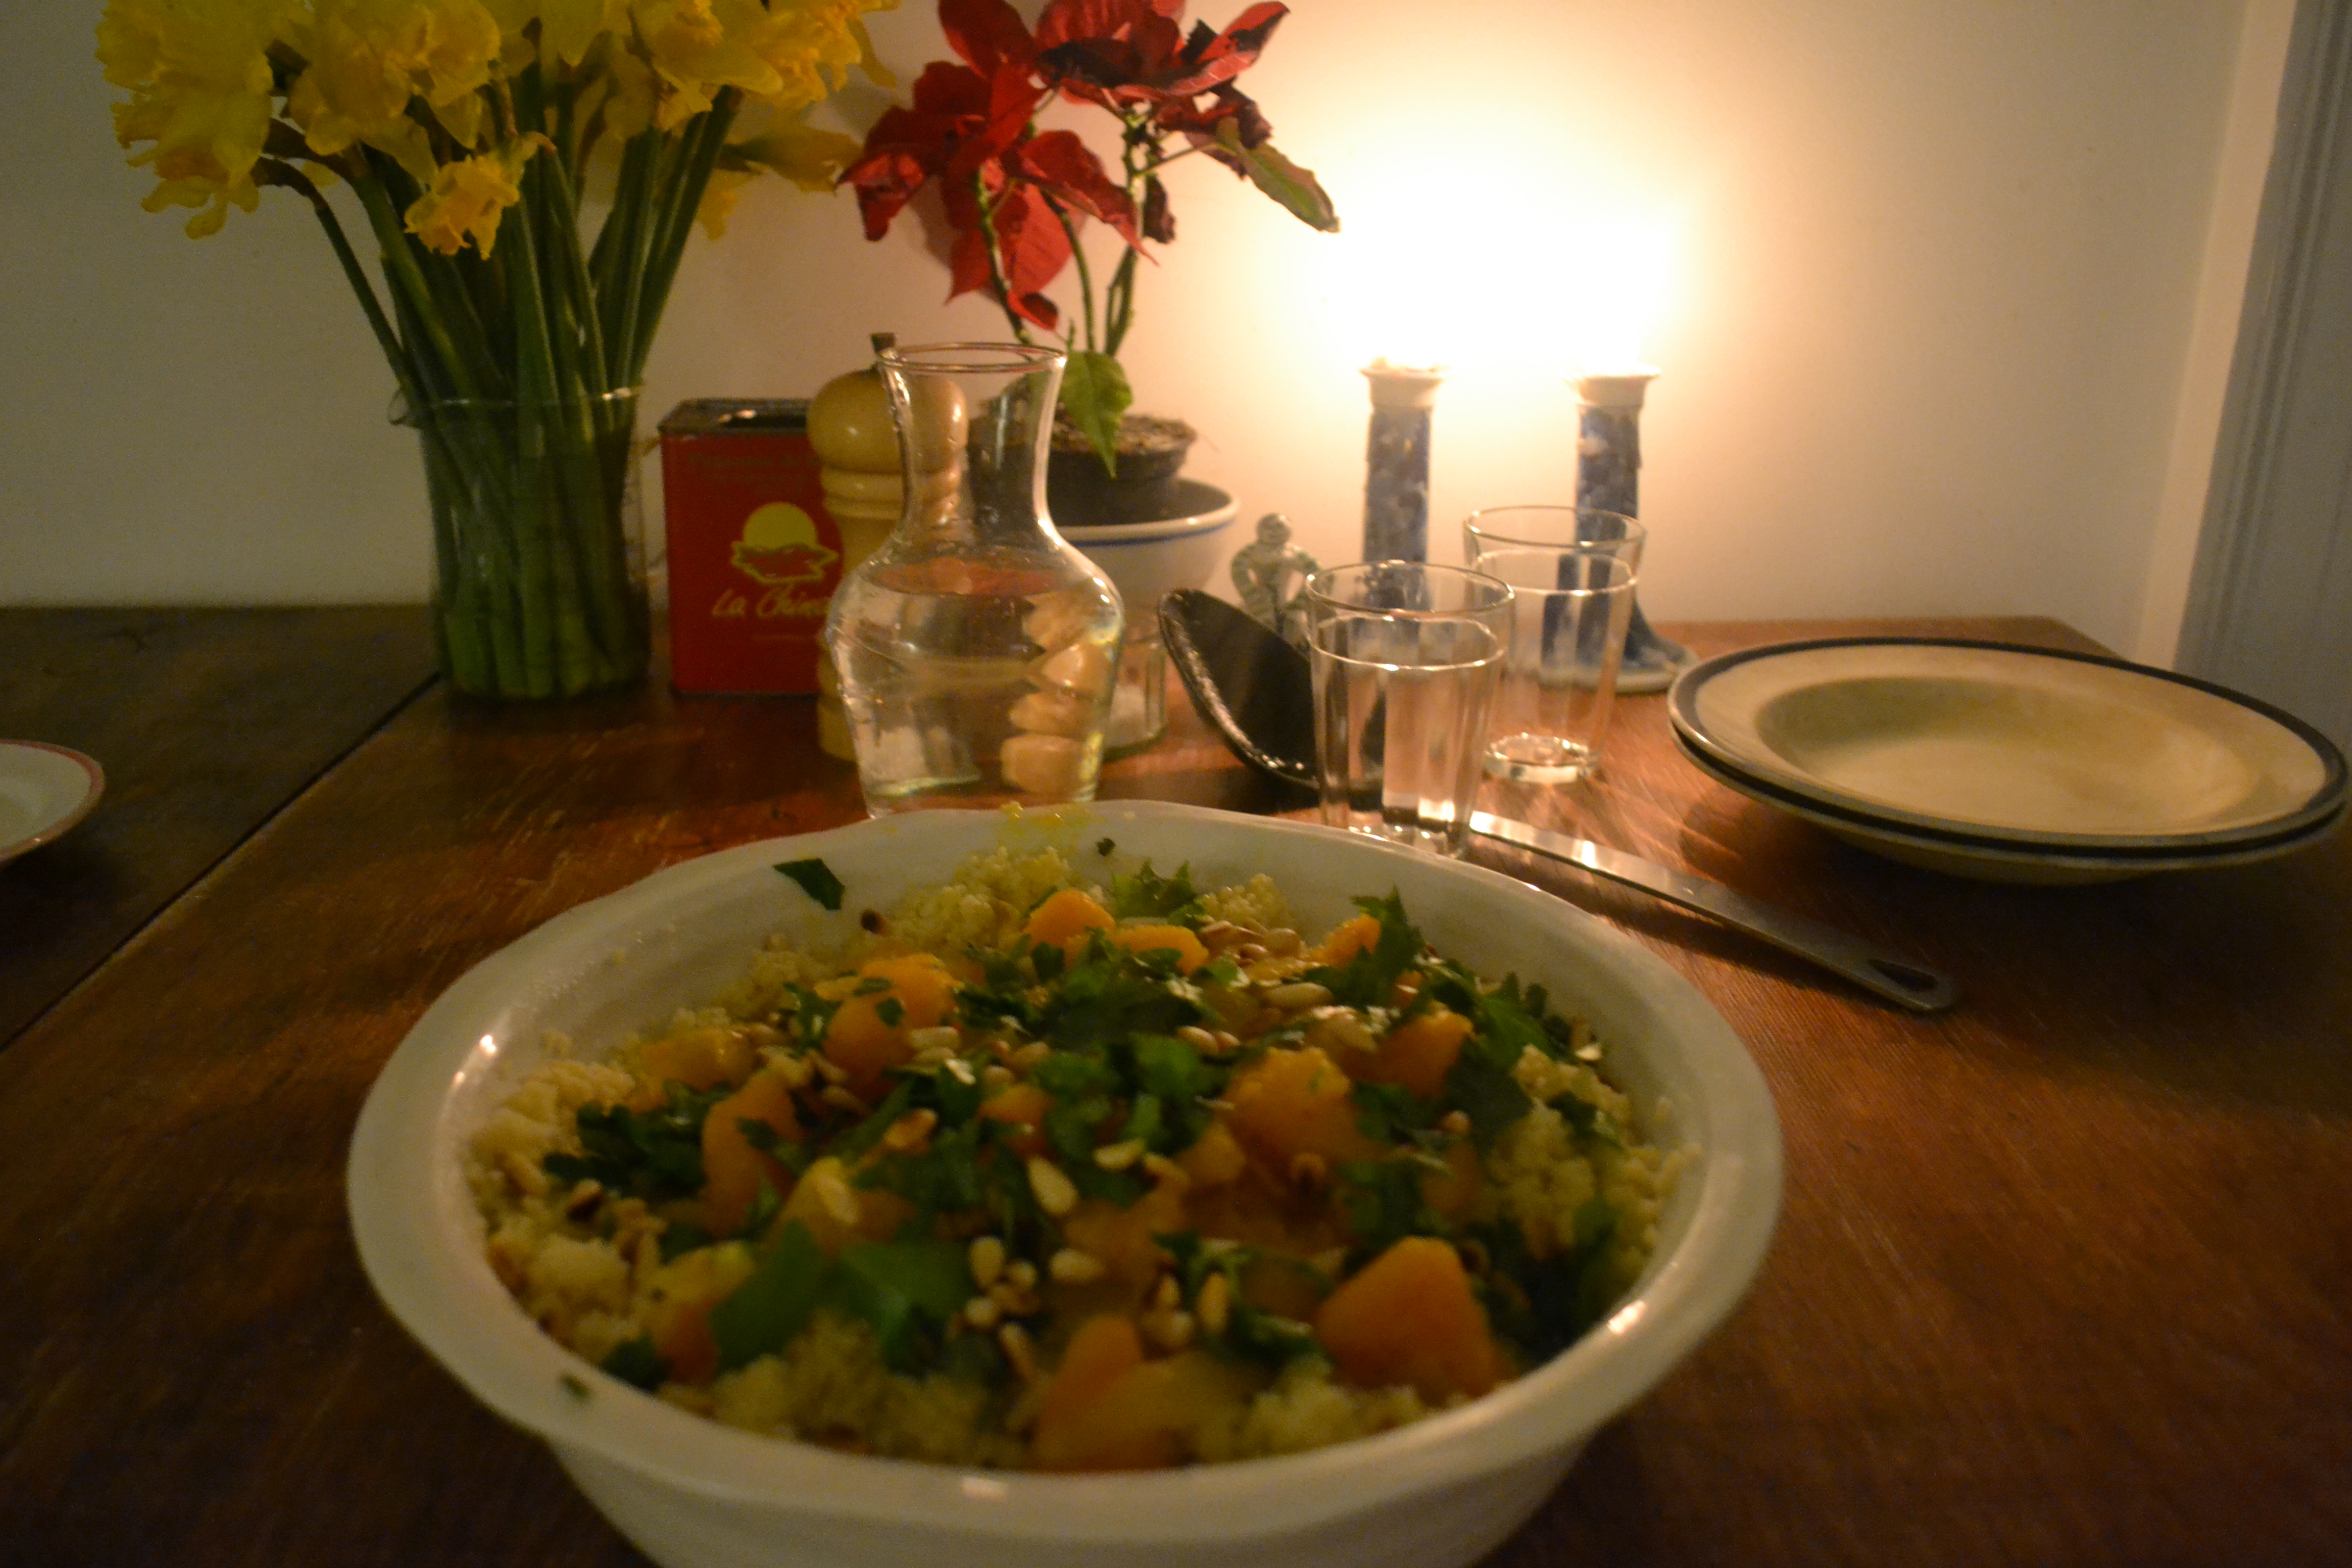
Braised fennel, tomatoes and chickpeas
Prep time: 5 mins
Cooking time: 20-30 mins
Budget: £5 no fish, £10-£15 with fish (£1 chickpeas, £1.50 tomatoes, £1 fennel, £1.50 herbs)
Ease: Easy
Serves: 2
- 1 tin of chickpeas or equivalent dried chickpeas soaked overnight and cooked for 1 hour
- 1 fennel bulb, sliced and rinsed
- 1/2 red onion (white fine too)
- Some small tomatoes on the vine
- Bouillon
- 1 clove peeled and sliced garlic
- Olive oil
- Salt and pepper
- A handful of chopped fresh parsley or basil
- Splash of vermouth or sherry or white wine (optional)
- Fillets of cod (optional)
Put the sliced onion and fennel in a pan with olive oil and some salt. Cook slowly, partially covered for 10-15 mins. Then, If using sherry or vermouth, add a splash now and sizzle for a bit until the alcohol has gone. I haven’t used any booze in this dish for ages – it’s fine without. Add the garlic and place the tomatoes into the pan and cook on a medium heat. Stir from time to time but the idea is for the tomatoes to retain their shape so stir around them with a wooden spoon. After another 20 mins add a small glass of water and a tiny sprinkle of bouillon. Add the drained and rinsed tin of chickpeas along with the chopped parsley or basil. Add more water to get the consistency you want – it can be as soupy as you like, maybe just add a little more bouillon in which case. Cook for another 5 mins or so and it should be done. Serve with olive oil for drizzling and some nice fresh bread to mop up the broth.

- If you have used dried chickpeas (so soaked overnight, drained and rinsed, then cooked for an hour in fresh water), use some of the cooking water in place of stock and also add the cooked chickpeas as above.
- If having fish, either pan fry or bake. To pan fry – salt and dust the cod fillets with a little flour, heat some sunflower oil in a pan to a high heat, place skin side down and don’t touch for 2-3 mins, gently turn over add a squeeze of lemon and fry for another 2-3 mins. The fish should be ready and serve on top of the chickpea, fennel broth with a slice of lemon. To bake – place some of the chickpea, tomato and fennel broth into a casserole and place the fish fillets on top. Drizzle the fish with olive oil, coarse sea salt and a squeeze of lemon. Put in a pre-heated oven for 10 mins – you will need to judge the cooking according to your oven and the size of the fish – when done the fish should be flaky and slightly translucent.
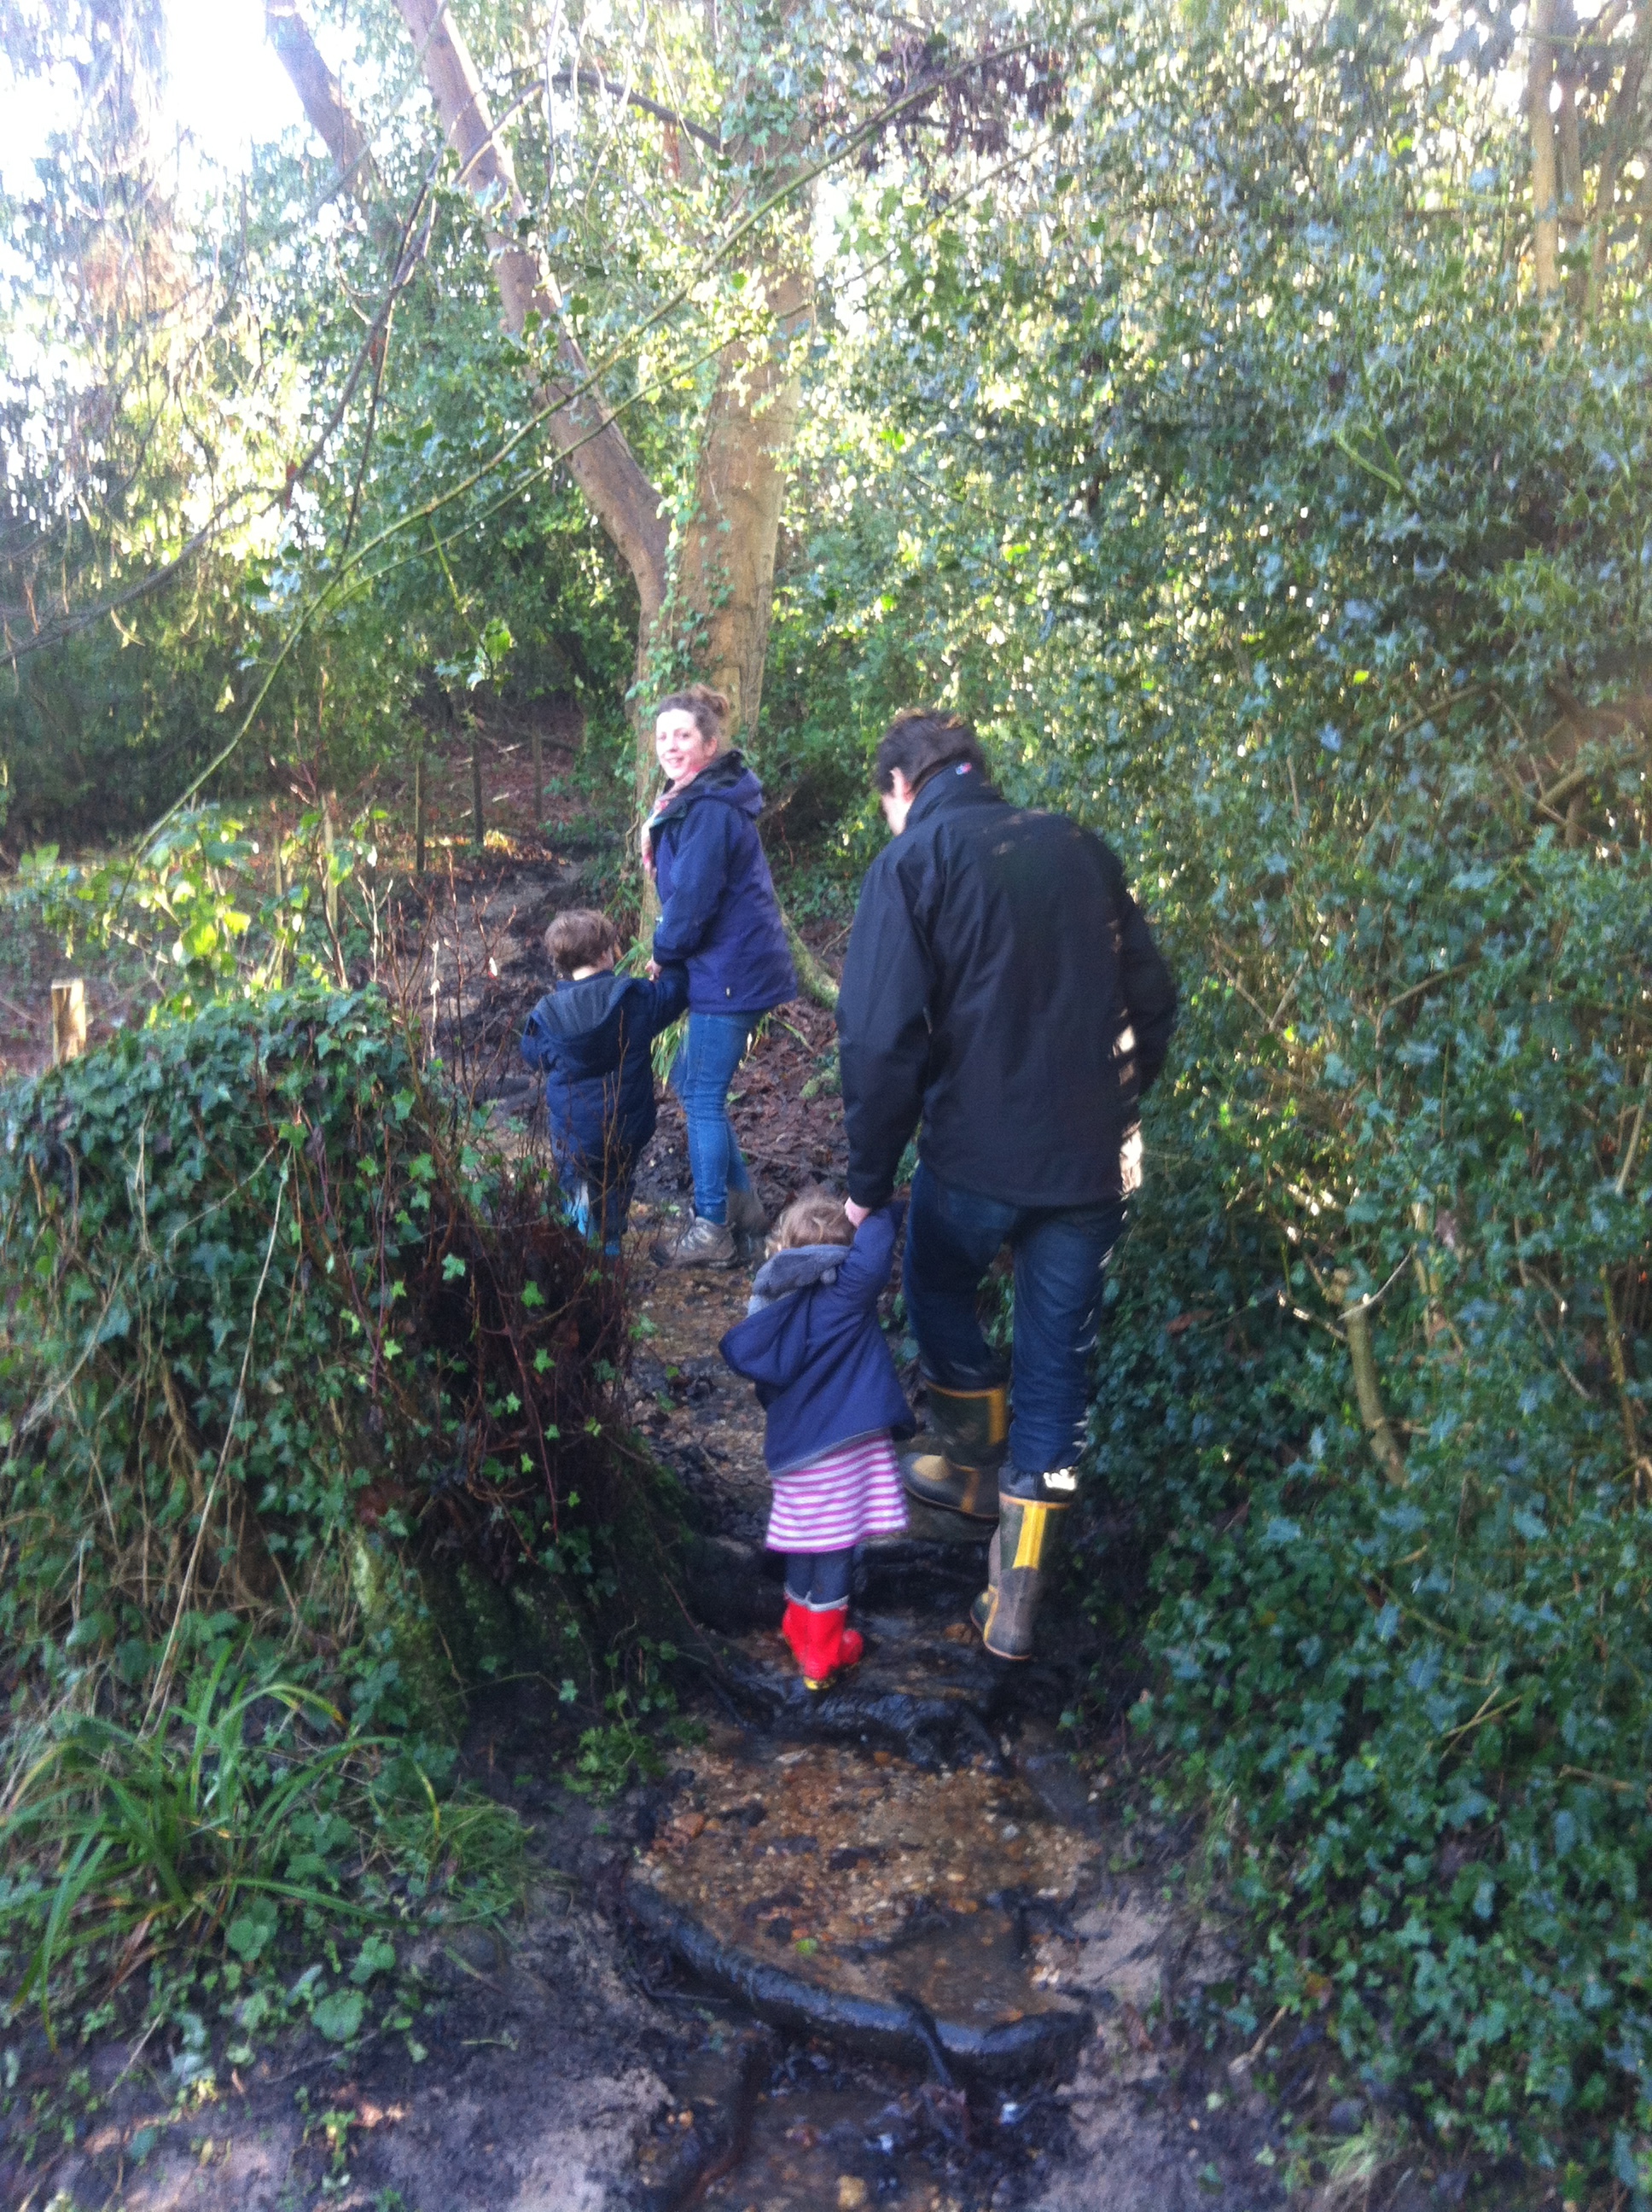
Here is a picture of my mum and Lexie enjoying my mother-in-law’s beautiful garden last summer.


